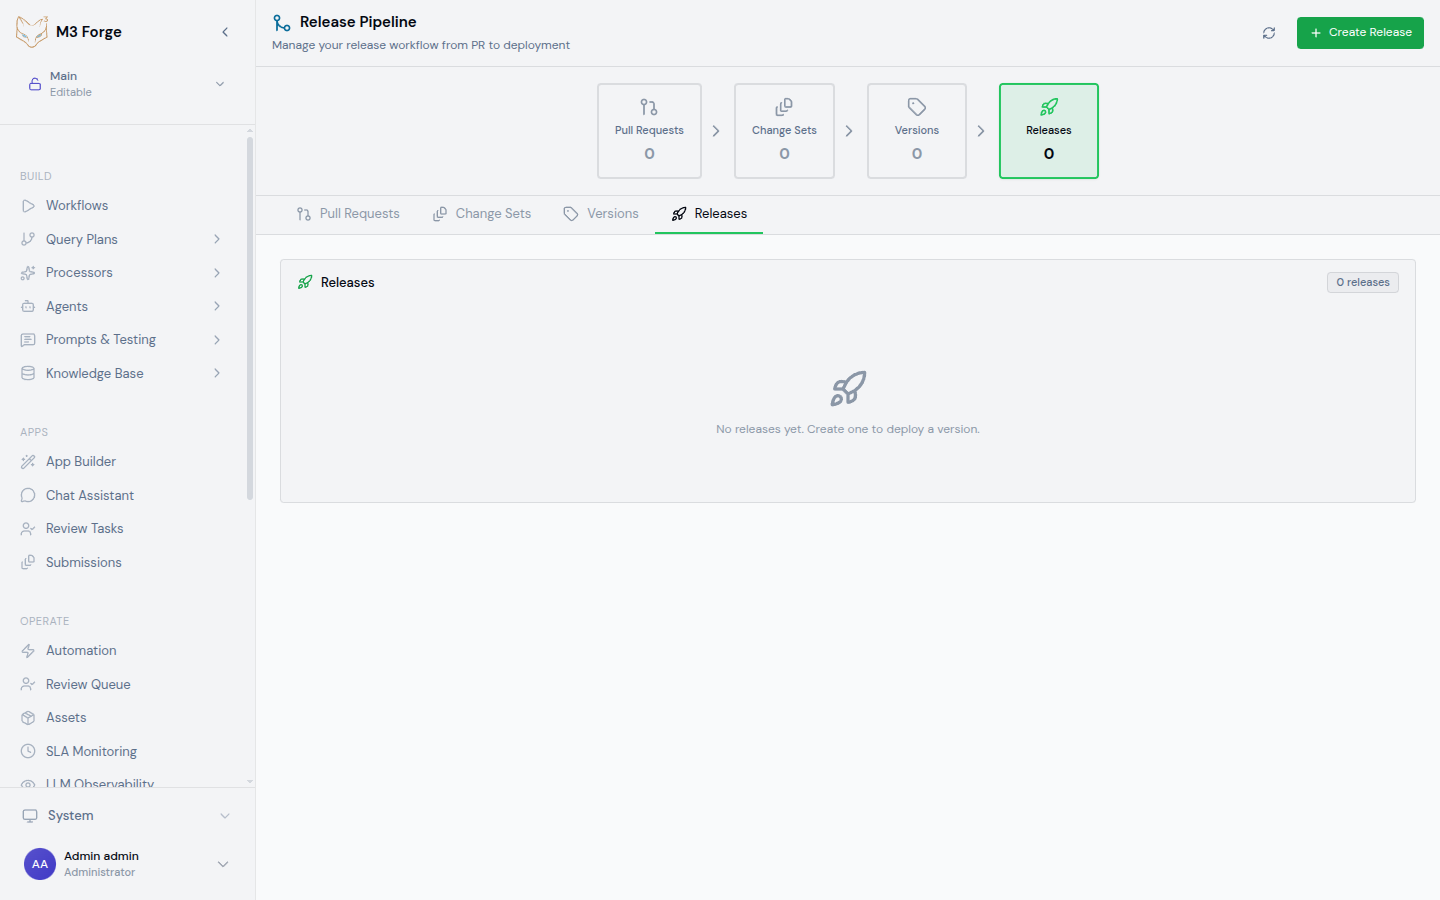
Release Pipeline
Manage the complete release lifecycle through a unified 4-stage pipeline from pull requests to production deployment.
Overview
The Release Pipeline page provides a single view of all in-flight changes as they progress from development to production. It unifies:
- Pull request management - Review proposed changes
- Change set grouping - Organize related changes
- Version creation - Package changes into releases
- Deployment tracking - Monitor rollout across environments
Navigate to Releases → Pipeline or visit /release-pipeline to access the dashboard.
Pipeline Architecture
The pipeline consists of four sequential stages:
Each stage has specific responsibilities and gates that must pass before advancing.
Stage 1: Pull Requests
The first stage displays all open pull requests containing workflow, agent, or processor changes.
PR Table
| PR # | Title | Author | Status | Changed Items | Checks | Created |
|---|---|---|---|---|---|---|
| #342 | Add invoice classification | alice | ✓ Approved | 2 workflows, 1 agent | 5/5 passed | 2 days ago |
| #341 | Fix timeout in doc extraction | bob | ⏳ Review requested | 1 workflow | 3/5 passed | 1 day ago |
| #340 | Update onboarding prompt | carol | ✗ Changes requested | 1 agent | 2/5 passed | 3 hours ago |
PR Details
Click any PR to expand details:
Changed Items:
workflows/invoice-classification.json- New workflowworkflows/invoice-extraction.json- Modified (added validation node)agents/invoice-agent.json- Updated prompt
Checks:
- ✓ Workflow validation - DAG is valid, no cycles
- ✓ Schema validation - All node configs match schemas
- ✓ Unit tests - 47/47 tests passed
- ✓ Integration tests - End-to-end smoke tests passed
- ⏳ Code review - 1/2 approvals (waiting for second reviewer)
Activity:
- alice created PR 2 days ago
- GitHub Actions ran checks 2 days ago (passed)
- david approved 1 day ago
- alice requested review from carol 1 day ago
PR Actions
For each PR, you can:
- Review - Jump to GitHub/Gitea to review code
- View changes - See diff of workflow JSON
- Run checks - Manually trigger validation
- Merge - Merge to main branch (if approved)
M3 Forge integrates with GitHub and Gitea for pull request management. Configure integration in Settings → Source Control.
Filtering PRs
Filter PRs by:
- Status - Open, approved, changes requested, draft
- Author - Who created the PR
- Labels - GitHub labels (bug, feature, hotfix)
- Changed items - Filter to PRs modifying specific workflows
Stage 2: Change Sets
The second stage groups merged PRs into logical change sets ready for versioning.
What is a Change Set?
A change set is a collection of related changes that should be released together. For example:
Change Set: Invoice Processing v2
- Merged PRs: #342, #341, #339
- Workflows changed: invoice-classification, invoice-extraction
- Agents changed: invoice-agent
- Rationale: All changes improve invoice processing pipeline
Change sets enable deploying multiple PRs atomically instead of releasing each PR individually.
Change Set Table
| Change Set | PRs | Items Changed | Created By | Status |
|---|---|---|---|---|
| Invoice processing v2 | 3 PRs (#342, #341, #339) | 2 workflows, 1 agent | alice | Ready to version |
| Customer onboarding improvements | 2 PRs (#340, #338) | 1 workflow, 1 agent | bob | Pending review |
Creating a Change Set
Navigate to Change Sets stage
In the Release Pipeline page, scroll to the “Change Sets” section.
Click “Create Change Set”
Open the change set creation form.
Select merged PRs
Choose PRs to include in this change set:
- ✓ #342 - Add invoice classification
- ✓ #341 - Fix timeout in doc extraction
- ✓ #339 - Optimize invoice extraction prompt
Set metadata
{
  "name": "Invoice Processing v2",
  "description": "Improved invoice extraction and classification",
  "type": "feature"
}
Save
The change set is created and ready to be versioned.
Automatic Change Sets
Enable automatic change set creation based on labels:
{
  "auto_changeset_rules": [
    {
      "label": "invoice-processing",
      "changeset_name": "Invoice Processing Changes",
      "auto_version": false
    },
    {
      "label": "hotfix",
      "changeset_name": "Hotfix",
      "auto_version": true,
      "auto_deploy_to": ["staging"]
    }
  ]
}
When a PR with matching label is merged, it’s automatically added to the corresponding change set.
Stage 3: Versions
The third stage packages change sets into versioned releases using semantic versioning.
Version Table
| Version | Change Sets | Type | Items Included | Created | Status |
|---|---|---|---|---|---|
| v1.3.0 | Invoice processing v2 | Minor | 2 workflows, 1 agent | 1 hour ago | Published |
| v1.2.1 | Hotfix: timeout fix | Patch | 1 workflow | 2 days ago | Published |
| v1.2.0 | Customer onboarding | Minor | 1 workflow, 1 agent | 1 week ago | Published |
Creating a Version
Select change set
In the Change Sets table, click “Create Version” next to a change set.
Choose version number
Select semantic version increment:
- Major (v2.0.0) - Breaking changes to workflow interfaces
- Minor (v1.3.0) - New workflows or features (default)
- Patch (v1.2.1) - Bug fixes only
Or enter custom version manually.
Add release notes
# Version 1.3.0 - Invoice Processing v2

## Features

- Added invoice classification workflow
- Improved timeout handling in doc extraction

## Bug Fixes

- Fixed race condition in invoice extraction (#341)

## Performance

- Optimized LLM prompt for 30% faster extraction
Create Git tag
The version is tagged in the Git repository:
git tag -a v1.3.0 -m "Release v1.3.0: Invoice Processing v2"Publish
The version is published and available for deployment.
Version Metadata
Each version includes:
- Version number - Semantic version (v1.3.0)
- Git tag - Corresponding repository tag
- Git commit - SHA of the tagged commit
- Change sets - Change sets included in this version
- Files changed - Full list of workflow/agent/processor files
- Release notes - Markdown-formatted changelog
- Created by - Who created the version
- Created at - Timestamp of version creation
Version Immutability
Once published, versions are immutable:
- Cannot modify version contents
- Cannot change version number
- Cannot delete (can only mark as deprecated)
This ensures reproducible deployments and audit compliance.
Stage 4: Releases
The fourth stage deploys versions to environments and tracks deployment status.
Release Table
| Version | Environment | Status | Started | Duration | Deployed By |
|---|---|---|---|---|---|
| v1.3.0 | Production | ✓ Succeeded | 30 min ago | 2m 34s | alice |
| v1.3.0 | Staging | ✓ Succeeded | 2 hours ago | 1m 12s | alice |
| v1.2.1 | Production | ✓ Succeeded | 2 days ago | 3m 45s | bob |
| v1.2.1 | Staging | ✗ Failed | 2 days ago | 45s | bob |
Creating a Release
Select version
In the Versions table, click “Deploy” next to the version.
Choose environment
Select target environment:
- Development (no approval required)
- Staging (requires 1 approval)
- Production (requires 2 approvals + quality gates)
Review changes
See summary of what will be deployed:
- 2 workflows will be updated
- 1 agent will be created
- 0 processors will be deleted
Submit for approval (if required)
For staging and production, request approval from designated reviewers.
Deploy
Once approved, click “Deploy” to start the release.
Deployment Process
The deployment executes these steps:
- Pre-deployment checks - Verify environment connectivity, database schema compatibility
- Quality gates - Run automated tests, security scans, validation
- Backup - Snapshot current environment state for rollback
- Deploy artifacts - Update workflow definitions, agent configs in database
- Post-deployment checks - Smoke tests, health checks
- Activate - Make new version active for workflow executions
- Notify - Send deployment notifications (Slack, email)
Progress is displayed in real-time with live logs.
Deployment Status
Releases can be in these states:
| Status | Description | Actions Available |
|---|---|---|
| Pending approval | Awaiting manual approval | Approve, Reject |
| In progress | Deployment is running | View logs |
| Succeeded | Deployment completed successfully | View logs, Rollback |
| Failed | Deployment encountered error | View logs, Retry, Rollback |
| Rolled back | Reverted to previous version | View logs |
Viewing Deployment Logs
Click any release to see detailed logs:
[2024-03-19 14:23:15] Starting deployment of v1.3.0 to production
[2024-03-19 14:23:16] Running pre-deployment checks...
[2024-03-19 14:23:17] ✓ Database connection healthy
[2024-03-19 14:23:18] ✓ Gateway connectivity verified
[2024-03-19 14:23:19] Running quality gates...
[2024-03-19 14:23:25] ✓ Workflow validation passed (2 workflows)
[2024-03-19 14:23:30] ✓ Security scan passed (no vulnerabilities)
[2024-03-19 14:23:31] Creating backup of current state...
[2024-03-19 14:23:35] ✓ Backup created: backup-prod-20240319-142335
[2024-03-19 14:23:36] Deploying artifacts...
[2024-03-19 14:23:40] ✓ Updated workflow: invoice-classification
[2024-03-19 14:23:42] ✓ Updated workflow: invoice-extraction
[2024-03-19 14:23:43] ✓ Created agent: invoice-agent
[2024-03-19 14:23:44] Running post-deployment checks...
[2024-03-19 14:23:50] ✓ Smoke tests passed (3/3)
[2024-03-19 14:23:51] Activating new version...
[2024-03-19 14:23:52] ✓ Version v1.3.0 is now active in production
[2024-03-19 14:23:53] Deployment succeeded in 2m 34s
Rollback
If a release causes issues, rollback to the previous version.
Initiating Rollback
Navigate to the failed release
Find the problematic release in the Releases table.
Click “Rollback”
Open the rollback confirmation dialog.
Select target version
Choose which version to rollback to:
- Previous version (default) - v1.2.1
- Specific version - Choose from dropdown
Confirm
Click “Confirm Rollback” to start.
Rollback Process
Rollback executes in reverse:
- Deactivate current version - Stop routing new executions to current version
- Restore previous artifacts - Load workflow definitions from backup
- Activate previous version - Route executions to previous version
- Verify - Run smoke tests to confirm rollback success
- Notify - Alert team of rollback
Rollback typically completes in under 1 minute.
Rollback only reverts workflow definitions and agent configs. It does NOT rollback:
- Database schema migrations (must be handled separately)
- In-flight workflow executions (will complete with new version)
- Historical execution data (preserved)
Rollback Audit
All rollbacks are logged in the audit trail:
{
  "event": "release.rollback",
  "version_from": "v1.3.0",
  "version_to": "v1.2.1",
  "environment": "production",
  "initiated_by": "alice",
  "reason": "High error rate in invoice-classification workflow",
  "timestamp": "2024-03-19T14:45:00Z"
}
Pipeline Filters
Filter the pipeline view to focus on specific items:
By Environment
Show only releases for specific environment:
- Development
- Staging
- Production
By Date Range
Show PRs, change sets, versions, and releases within date range:
- Last 7 days
- Last 30 days
- Custom range
By Author
Show only items created by specific team member.
By Status
Filter to specific states:
- PRs - Open, approved, merged
- Change sets - Draft, ready, versioned
- Versions - Published, deprecated
- Releases - Pending, in progress, succeeded, failed
Pipeline Metrics
The pipeline dashboard displays key metrics:
| Metric | Value | Description |
|---|---|---|
| Open PRs | 12 | PRs awaiting review or merge |
| Change sets ready | 3 | Change sets ready to version |
| Versions published (this month) | 8 | Total versions created |
| Successful deployments (this month) | 24 | Deployments that succeeded |
| Deployment success rate | 96% | Percentage of successful deployments |
| Mean time to deploy | 4.2 days | Average time from PR open to production |
Track trends over time to measure release velocity and quality.
Best Practices
Atomic Change Sets
Group related changes in a single change set:
✓ Good: Change set includes workflow + agent config + tests
✗ Bad: Workflow in one change set, agent config in another
Descriptive Release Notes
Write clear release notes for each version:
## v1.3.0 - Invoice Processing v2

**Impact:** Improves invoice extraction accuracy by 15% and reduces latency by 30%.

**Migration:** No action required. Changes are backward compatible.

**Rollback:** Safe to rollback. No database schema changes.
Staging Validation
Always deploy to staging before production:
- Deploy to staging
- Run smoke tests
- Monitor for 1 hour
- If stable, deploy to production
Gradual Rollout
For high-risk changes, use canary deployments:
- Deploy to 10% of production traffic
- Monitor error rates and latency
- If healthy, promote to 100%
Configure canary settings in Settings → Deployments → Canary.
Next Steps
- Configure Environments for the pipeline
- Set up Release Gates to enforce quality
- Learn about Publishing workflows to environments
- Monitor release health in Monitoring